3D Printed Prosthetic Hand Project
During the Fall of 2017 I did an independent study on the prosthetics industry. The project began with research into current prosthetic problems and culminated in a 3D printed prototype of a prosthetic hand with grip functionality and attachable modules. I consider this to be the first serious longterm design and engineering project I conducted and it is in part what inspired me to pursue design and engineering. On This page I will take you through my process of taking the idea from a concept to a prototype.
Project Media
Short Video Montage of Hand Creation:
WBZ News, a local news station, did a short segment on this project which can be found here.
Research and Problem Formulation
My first step in this project was to conduct research on the prosthetics industry. I looked at the current types of prosthetics, specifically prosthetic arms and hands that were availiable on the market made by robotics companies, biomedical companies and other various organisations. I also looked into how one in need of an artificial limb would go about getting one and what financial requirments were needed. It soon became apparent that insurance played a large role in wether someone could get a limb and what level of functionality the limb would have. It seemed to be a shared experience for amputees in the United States that their insurance companies would not make it possible for them to get the best functioning prosthetic limbs because of pricing.
I found that this insurance problem was extremely common among child amputees attemping to get proshtetic limbs. Children’s artificial limbs need to be replaced about every six months to account for their growth, and many insurance companies will not pay for them because of the cost of replacing the limbs so many times. It was at this point in my research that I came upon E-NABLE, an organisation attemping to provide famillies with low-cost 3D printed prosthetic arms and hands through volunteers. The solution E-NABLE had found with 3D printing particularly intriguied me, because it seemed to be perfectly suited to making custom parts and limbs at low cost, with some baseline functionality.
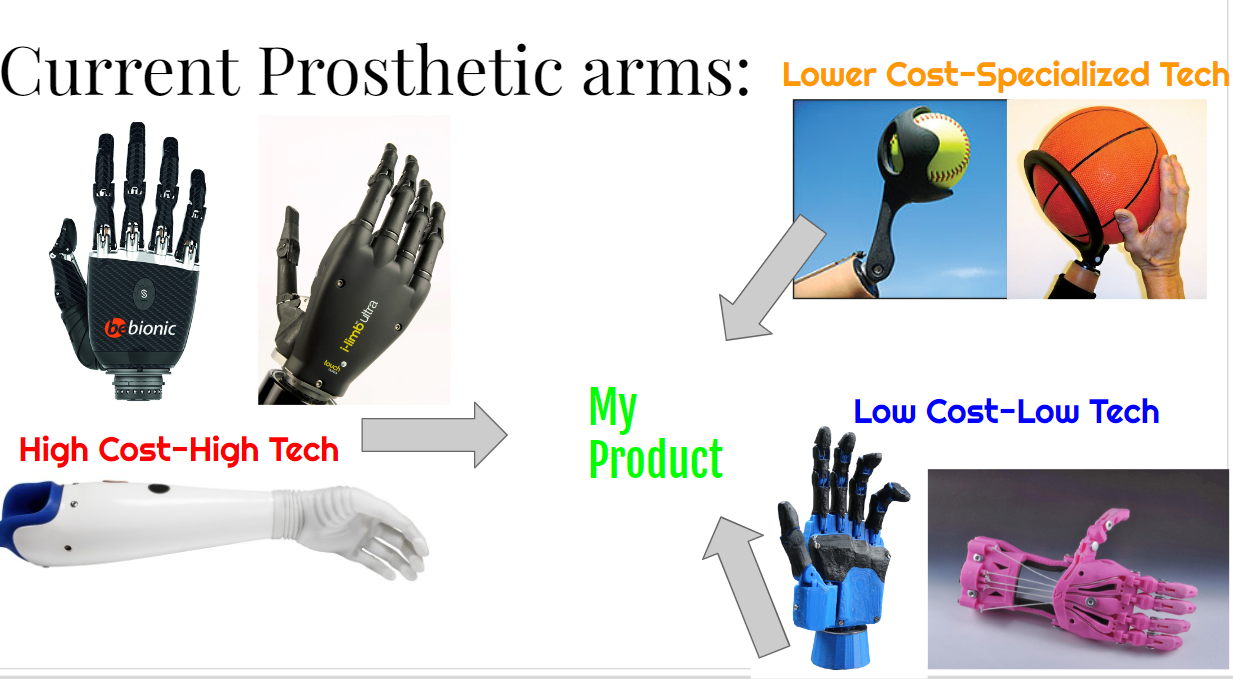
At the end of my research, I put the majority of prosthetic arms on the market into three categories: high-cost high-tech arms which provide great functionality but at a heavy price, low-cost low-tech limbs which are cheap but not as functional, and specialized limbs to be used for specific tasks like sports.Taking inspiration from E-NABLE and some of the other products I researched, I decided to create a prototype prosthetic hand that would take the most desirble aspects from each category. The limb would be 3D printed to allow for cheaper cost and customizablility but also include some electronics for grip functionality. I also planned to attach some modules to it that could be used to aid these students with tasks in school.
Concept Sketches & Measurements
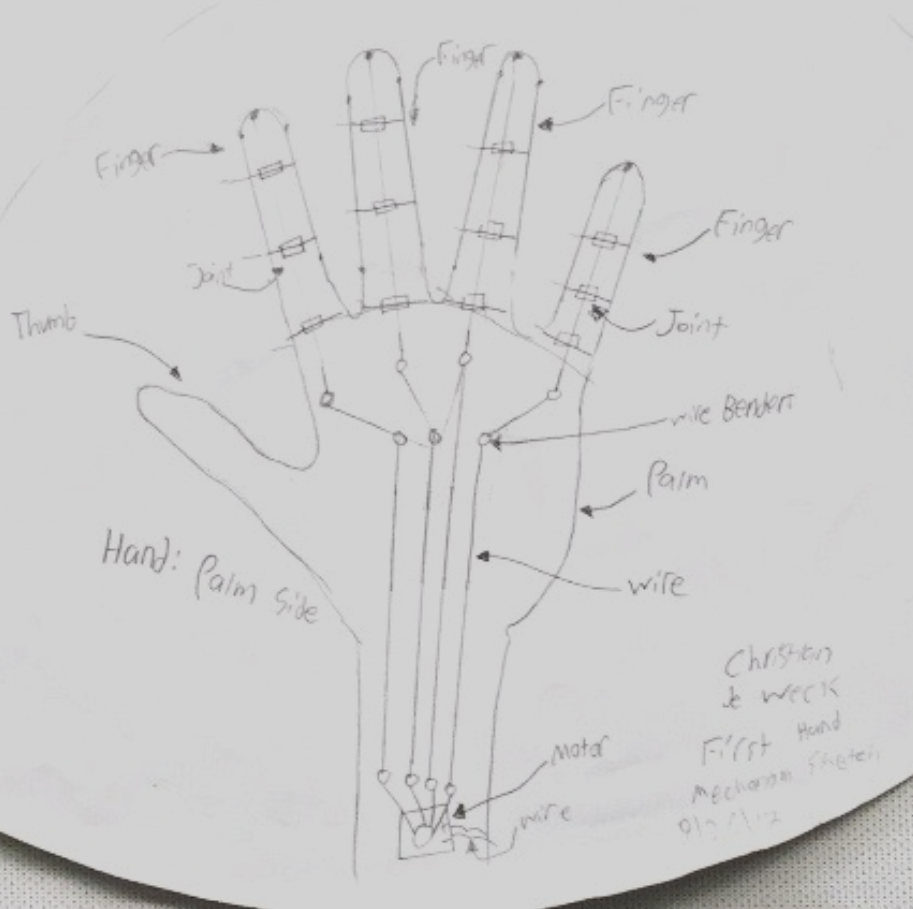
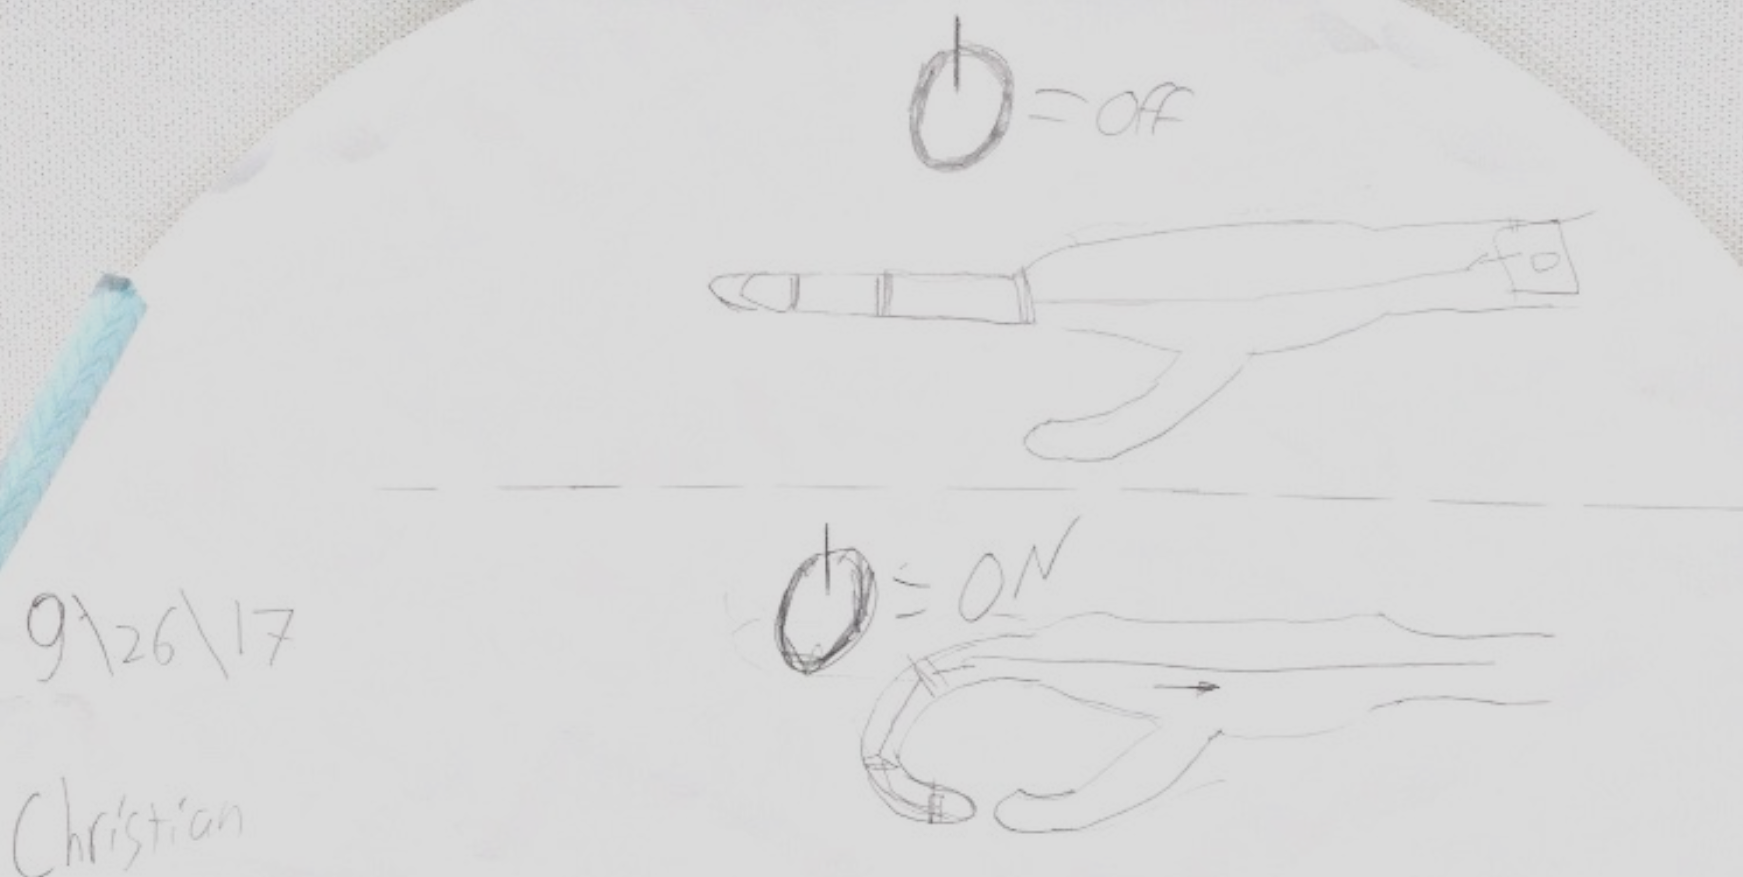
With a solid idea of the type of product I wanted to create, I began to sketch concepts for the prosthetic hand. These sketches started out fairly basic, with me tracing my own hand as a base and adding from there. Early on I decided a simple actuation method for the fingers and thumb would be to use string or cables for grip and release.
CAD Finger Creation
Finger Tip
The photos you see above is what constitutes a finger on the prosthetic hand. The same amount of joints as a standard finger, these parts are connected to eachother and the hand via some small 3D printed pins and are actuated using a string that feeds through a slot on the bottom. It was particularly important to get the tolerances right for the finger joints as they would be actuated the most and under the most stress during operation.
Hand Part
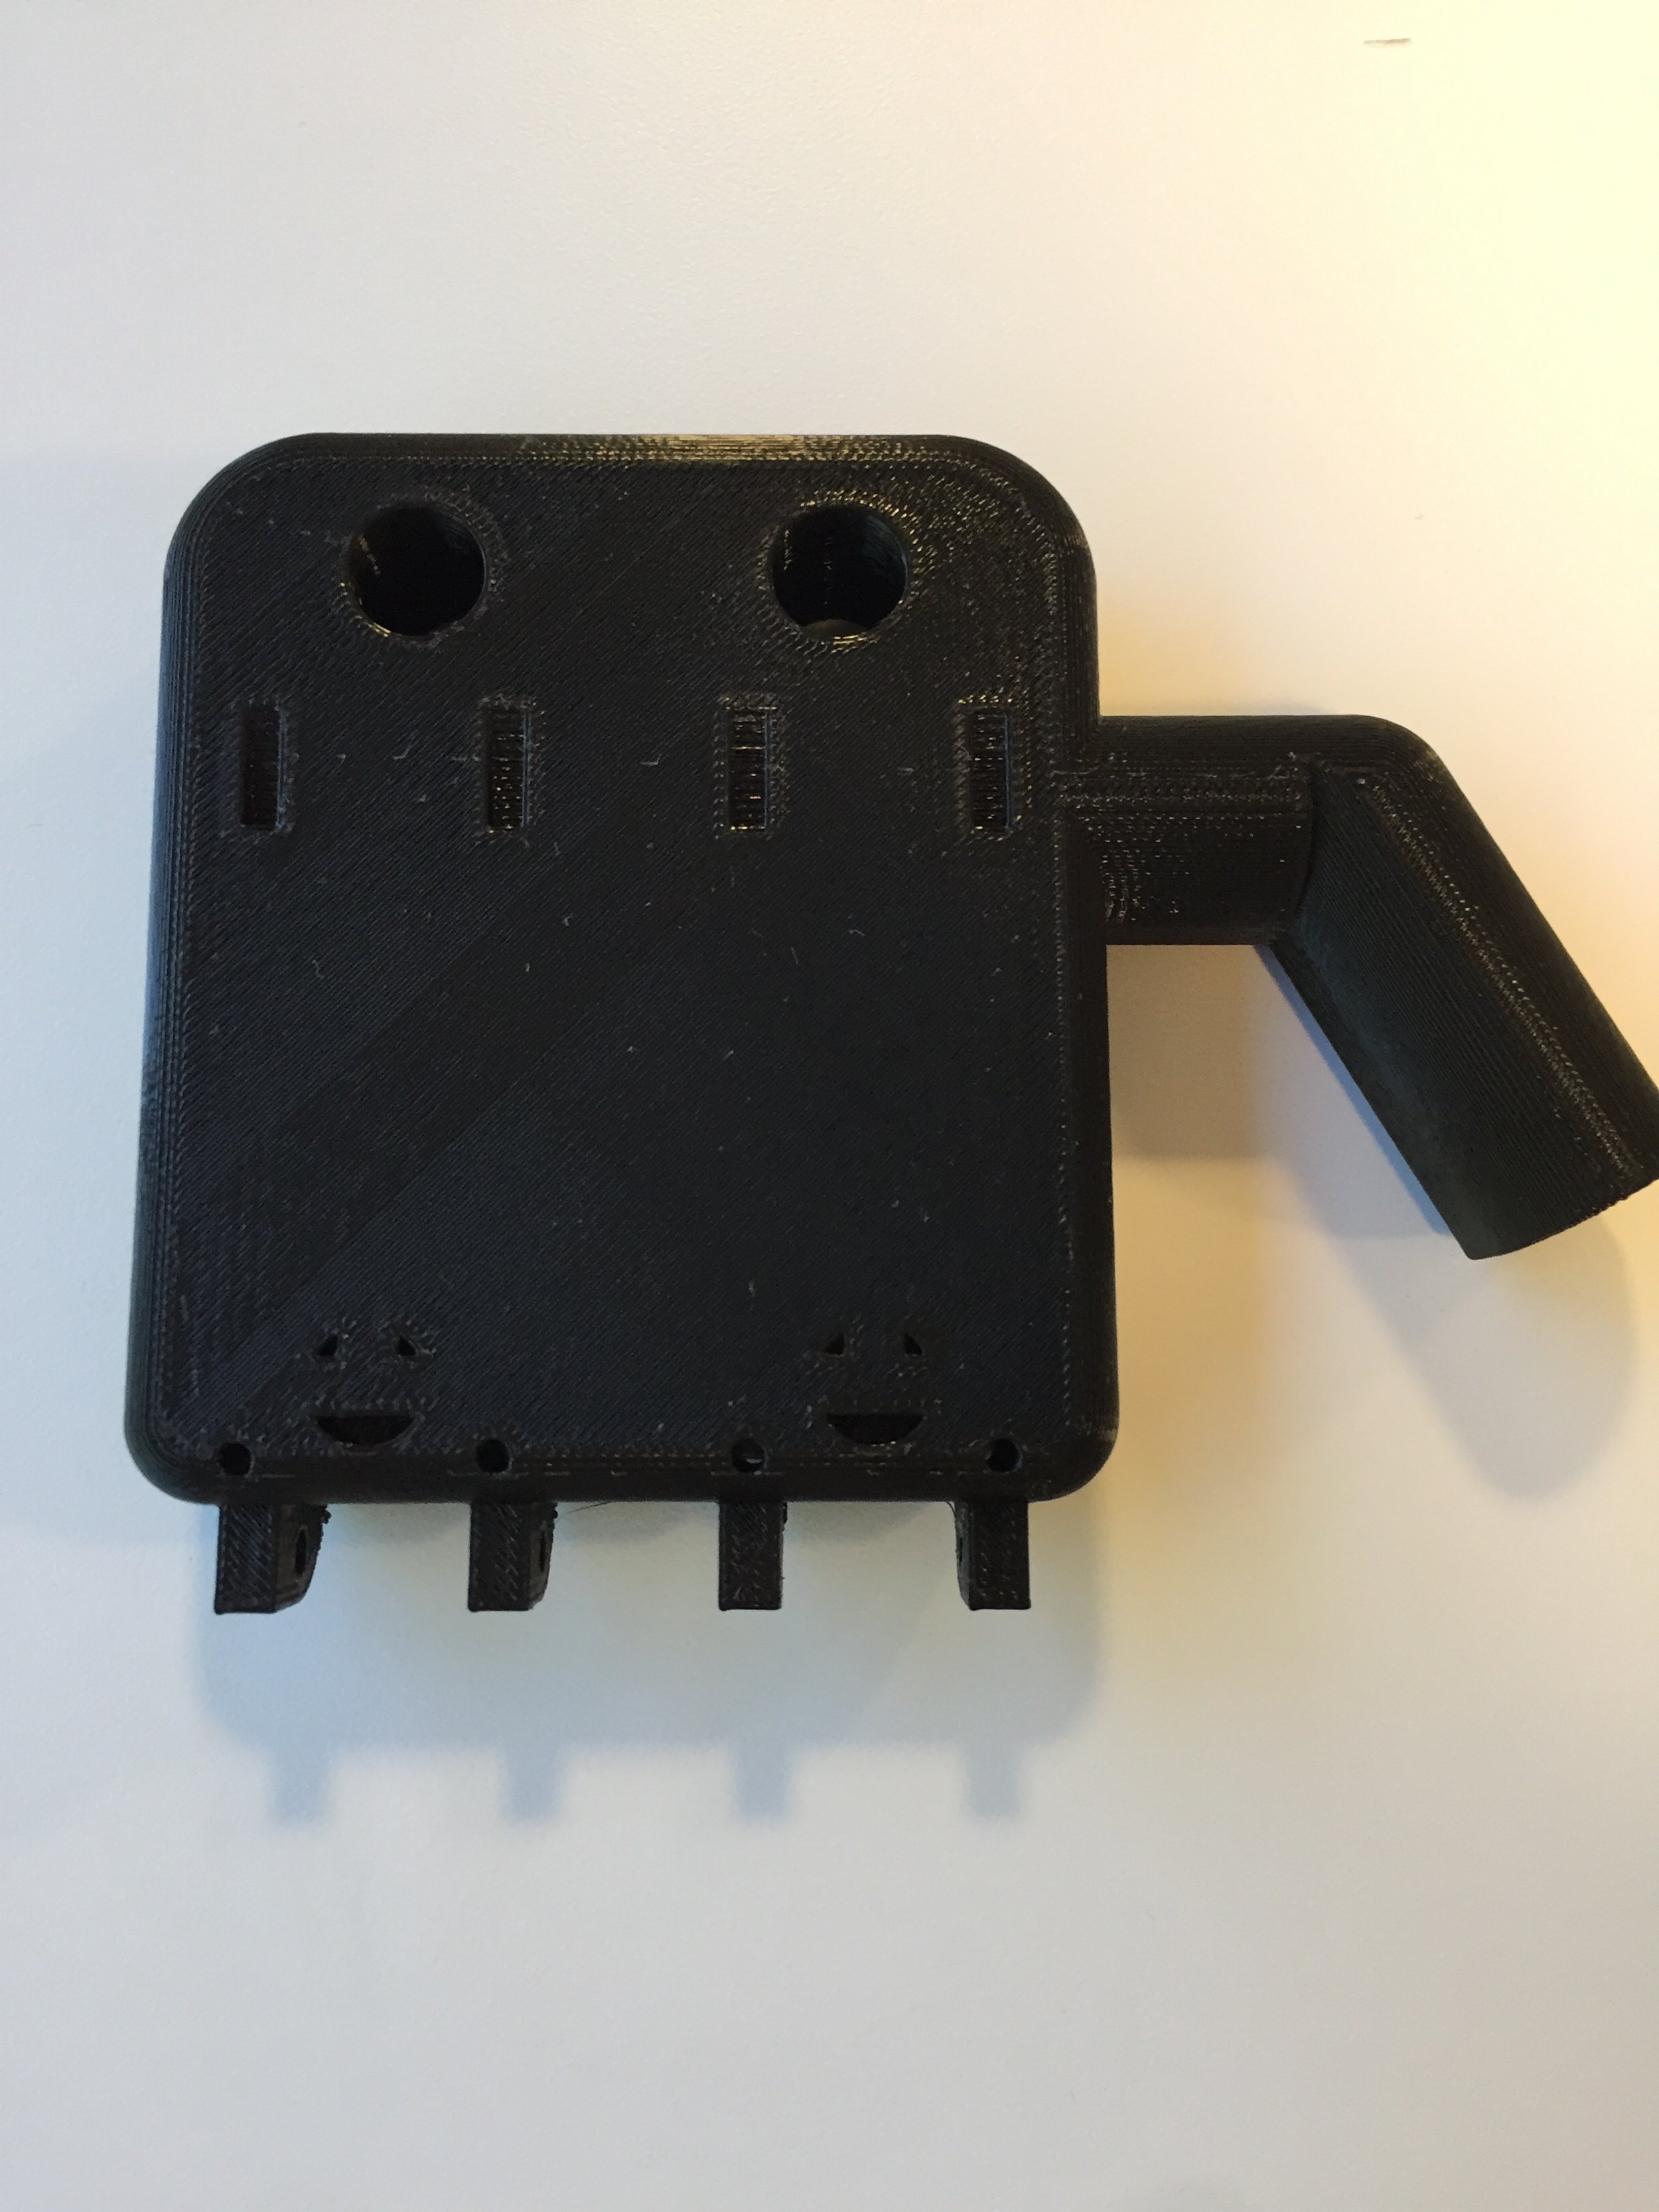
The hand section for the overall arm has places to attach four fingers on its front, as well as channels for the strings feeding from each finger. Near the front it has places for elastics to feed through that will go to the fingers in order to make sure they retract after gripping something. Near the back of the hand there are holes for the attachement hardware to go in so the hand can be joined to the arm section. There is also a rigid thumb on this section that is not capable of gripping but it does contain a place for the first of two special modules. The tip of the thumb can be inserted into the slot seen on the hand and inside a 16GB flash-drive can be stored.
Arm Section
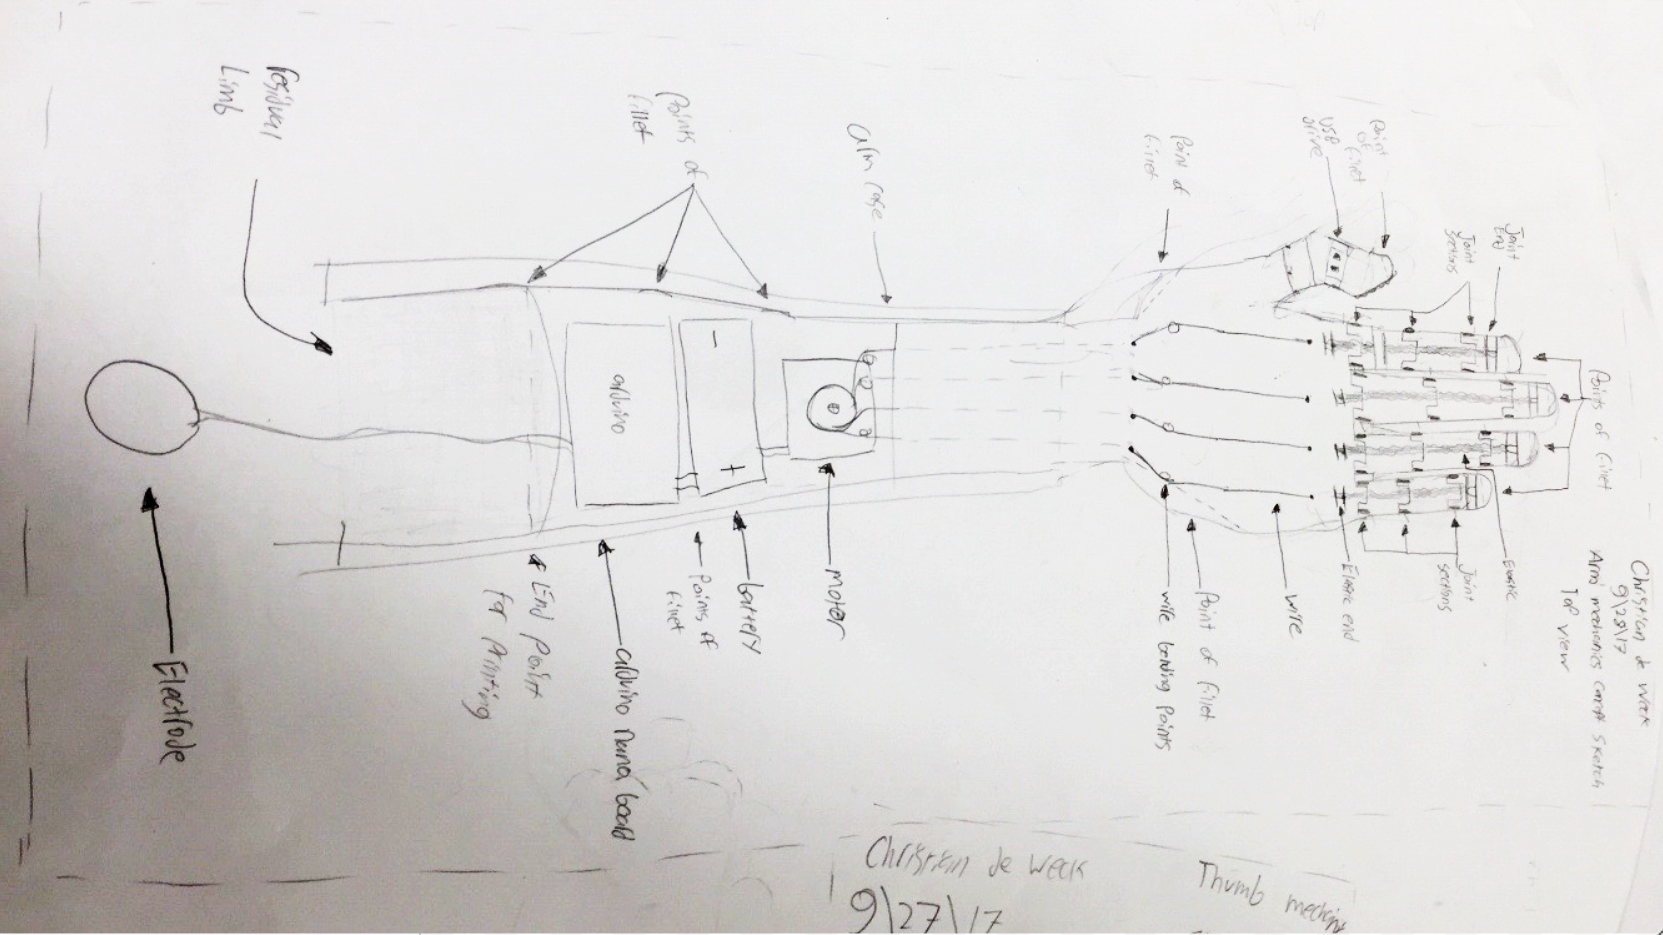
These concept sketches later developed into a diagram sketch which provided a view of all the vital components and their position. This included notes of the hand geometry like points of filet in CAD and electronic parts like servos and arduino.
After completing these sketches I moved on to taking measurments which would inform the CAD models. I intially measured the parts of my own hand and adjusted these numbers later in CAD.
CAD & Fabrication
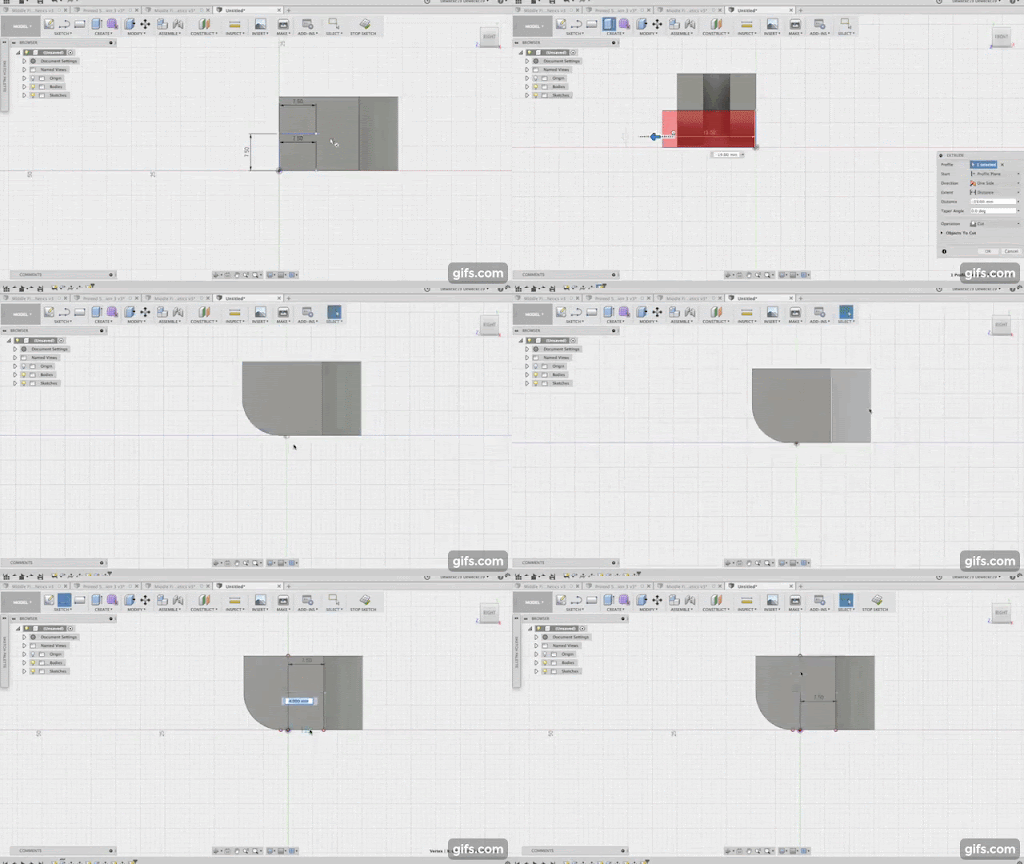
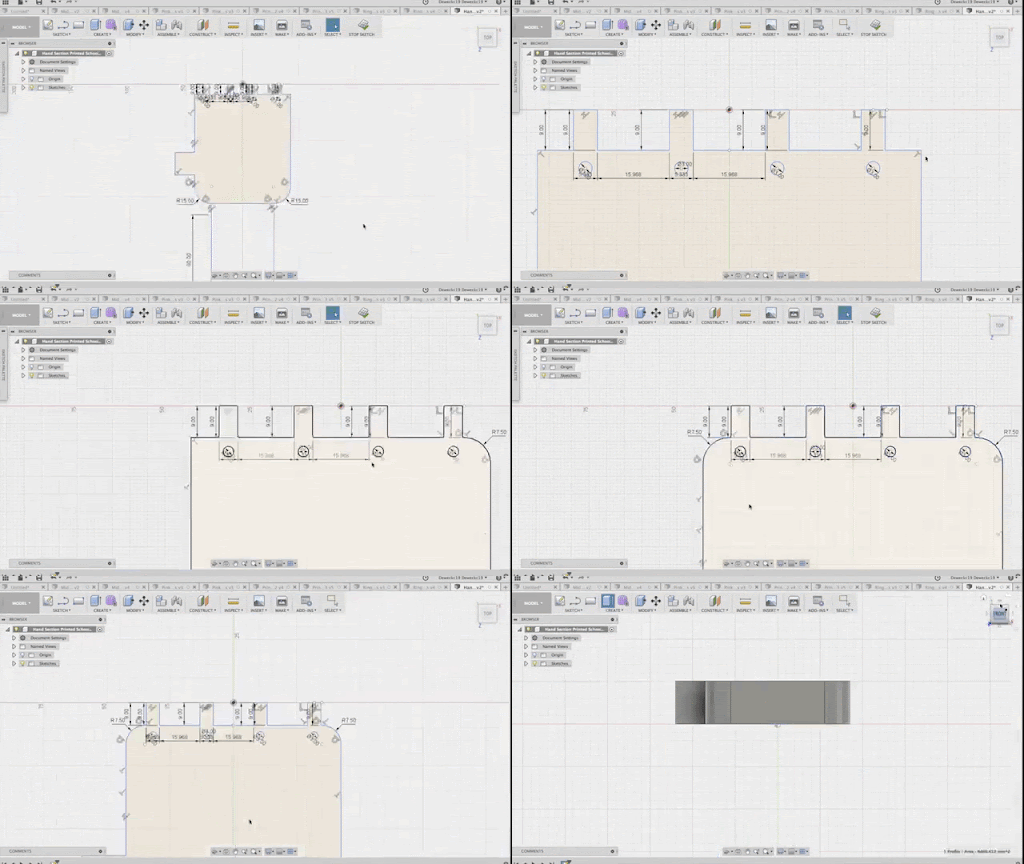
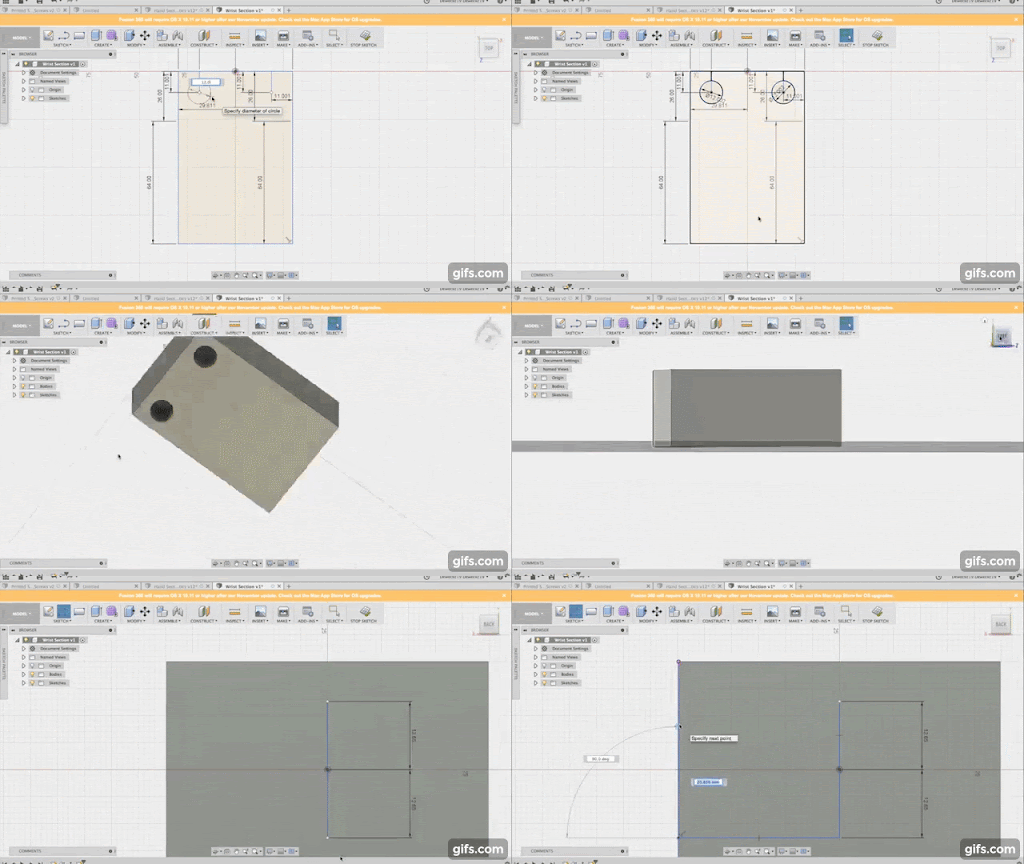
After taking a satisfactory number of measurements with clear enough sketchs, I began to create models of the prosthetic hand in CAD. I designed these models for the intention of being 3D printed and being assembled with each other. The design software I used for the CAD was Fusion 360 from Autodesk. It took a few different versions of the parts to be printed out before the tolerances were correct and there were no printing errors but the end result was able to be smoothly assembled.
CAD Hand Creation
Time Lapse of Finger Printing
Finger Middle
CAD Arm Attachement Creation
Ruler Module
The final section 3D printed was the arm attachement part. This is the section of the hand that attached to the user’s residual limb and allows for them to operate it. It is also the section that stores the electronics for the actuation in the big rectangular space. At the end of it the arm has a place for the hand section to bolt in and on the other end there is a sleeve for the limb to go. The side of the arm contains the second module which is a ruler/straight edge for the user to take advantage of when writing or drawing.
Electronics
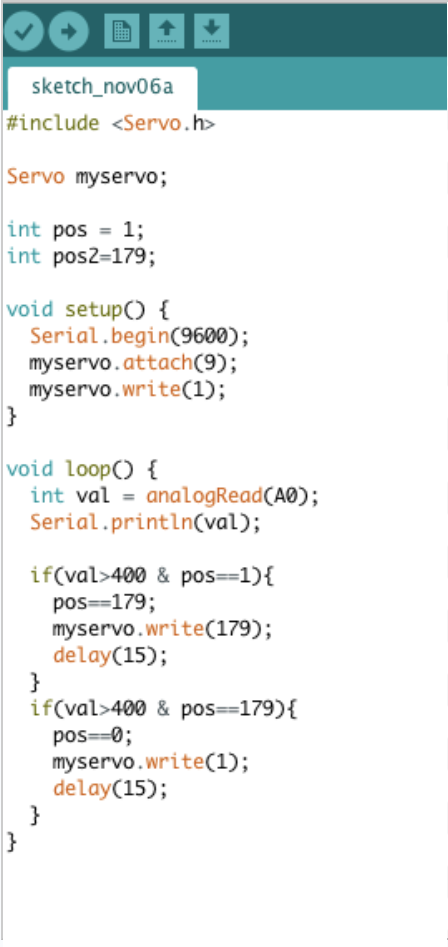
The electronics involved in the hand are fairly simple and are used to move the fingers into a gripping position. String connected to the tip of each finger feeds through a channel and goes all the wat into the electronics compartment where it is tied to a servo. The servo rotates the string is pulled in, making the fingers curl into a grip. The servo is activated by the wearer when they flex the muscle on their residual limb. A pressure sensor attached to their arm detects the muscle flex and sends a signal to the servo. Below you will find a diagram of the electronics and the basic code it uses to function.
Assembly and Testing
Finger End
After all the parts were printed out and the electronics were complete, I assembled all the pieces and began testing them. The code and physical parts needed a little bit of tweaking but eventually I got the hand to grip consistently. Here you will find a photo gallery of the finished project and an early testing video
